

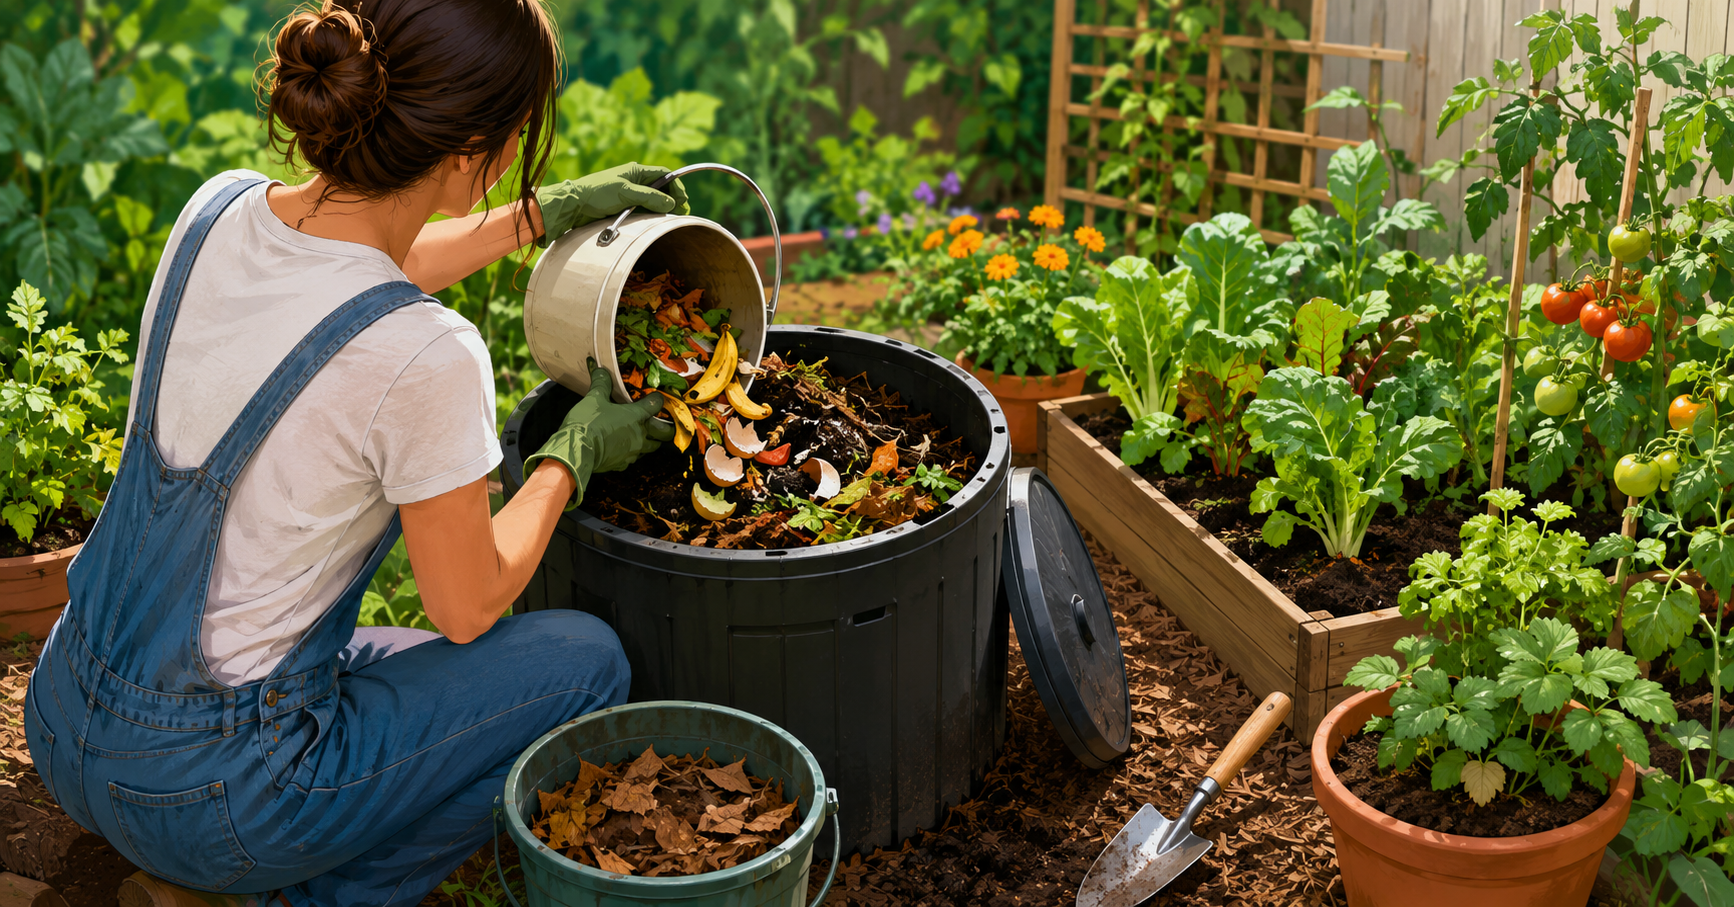
Few soil amendments are as useful, economical, and sustainable for a vegetable garden as homemade compost. Often called “black gold” by experienced growers, finished compost is the foundation of every thriving vegetable bed. This guide covers what composting is, what to put in your pile, a full step-by-step procedure, its well-documented benefits, and practical ways to apply it in your vegetable garden.
(Hot Method)
Ratio
Core Temperature
Home Waste
Part I What Is Composting?
Composting is a managed biological process in which microorganisms — bacteria, fungi, and actinomycetes — decompose organic matter under controlled conditions of moisture, aeration, and temperature. The finished product is a dark, crumbly, earthy-smelling material rich in stable organic matter that rebuilds soil structure and fertility over time.
Unlike synthetic fertilizers, which deliver concentrated nutrients, compost works more gradually. It improves soil structure, supports the microbial community beneath the surface, and releases nutrients over time as organic matter continues to break down.
“Feeding the soil — not just the plant — is the principle that separates a productive vegetable garden from one that merely survives. Compost is how you feed the soil.”— Virginia Times Garden Section
Composting completes nature’s own nutrient cycle: plant matter grown from the soil returns to the soil, continuously enriching it. For gardeners dealing with dense clay or poor sandy ground, compost is one of the most effective corrective amendments available.
Part II What Goes Into Your Compost
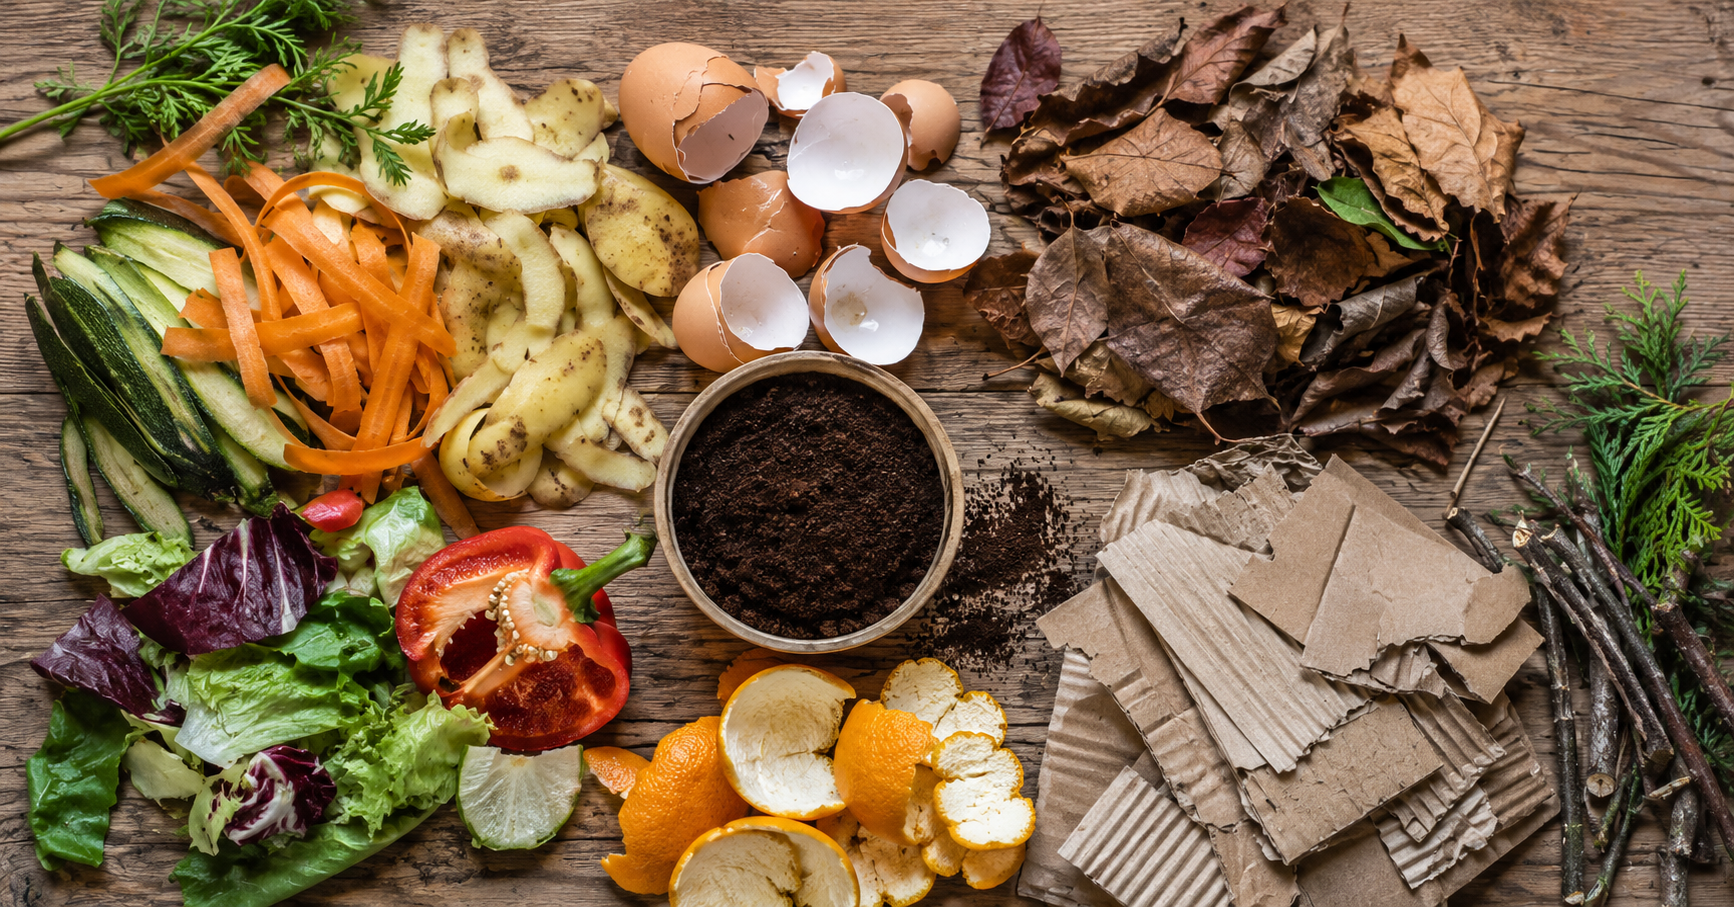
A healthy compost pile is built from two material categories: carbon-rich “browns” and nitrogen-rich “greens.” The recommended balance is approximately 3 parts browns to 1 part greens by volume. This ratio provides the energy and protein that decomposing microbes require.
- Dry autumn leaves — the most abundant garden compost material; shred for faster breakdown
- Corrugated cardboard and newspaper — tear into strips; remove tape and staples first
- Straw and hay — excellent structural material that creates vital air channels
- Wood chips and sawdust — untreated wood only; adds long-lasting carbon
- Paper bags and paper towels — unbleached varieties decompose readily
- Dried corn stalks and husks — chop into pieces under 4 inches
- Raw vegetable and fruit scraps — peels, cores, rinds, and trimmings from the kitchen
- Fresh grass clippings — high in nitrogen; always mix with browns to prevent matting
- Coffee grounds and paper filters — slightly acidic and beneficial to soil organisms
- Fresh garden prunings — green stems, spent crops, and bolted vegetable tops
- Tea bags (loose or paper) — remove any plastic components first
- Aged animal manure — chicken, rabbit, horse, or cow only (never pet waste)
- Meat, fish, or seafood scraps
- Dairy products (milk, cheese, butter)
- Cooked or oily and greasy foods
- Dog, cat, or human waste
- Diseased or pest-infested plants
- Chemically treated lawn clippings
- Weeds with mature seed heads
- Glossy or wax-coated paper
Part III Step-by-Step Composting Procedure
The procedure below describes the hot composting method, also called thermophilic composting. It is the most widely recommended approach for vegetable gardeners because it works quickly, can reduce many weed seeds and some pathogens when the pile reaches and maintains recommended temperatures, and produces a consistent, high-quality result.
-
Choose and Position Your Bin
Select a site in partial shade with level ground and good drainage. Use a wooden pallet bin, wire mesh cylinder, or commercial tumbler. A pile of about 1 cubic yard, or roughly 3 x 3 x 3 feet, is large enough to generate useful internal heat. Position close to your vegetable garden for easy access.
-
Build a Coarse Base Layer
Begin with 4 to 6 inches of coarse carbon material — straw, wood chips, or broken twigs — at the bottom to allow airflow from below and prevent anaerobic pockets at the pile’s base.
-
Layer Browns and Greens Alternately
Build in alternating layers: 3 to 4 inches of browns, then 1 to 2 inches of greens. Repeat until the pile reaches 3 to 4 feet in height. Chop or shred all materials to under 2 inches to increase surface area and speed decomposition.
-
Adjust Moisture Throughout
The pile should feel like a well-wrung sponge — damp but not dripping. Water each layer lightly as you build. In dry conditions, cover with burlap. In wet seasons, use a waterproof lid to prevent saturation and nutrient loss.
-
Add a Microbial Activator (Optional)
Thin layers of finished compost, garden topsoil, or aged manure between layers introduce the bacteria and fungi that start decomposition. Commercial activators are available but not required when good green materials are present.
-
Turn the Pile Every 3 to 7 Days
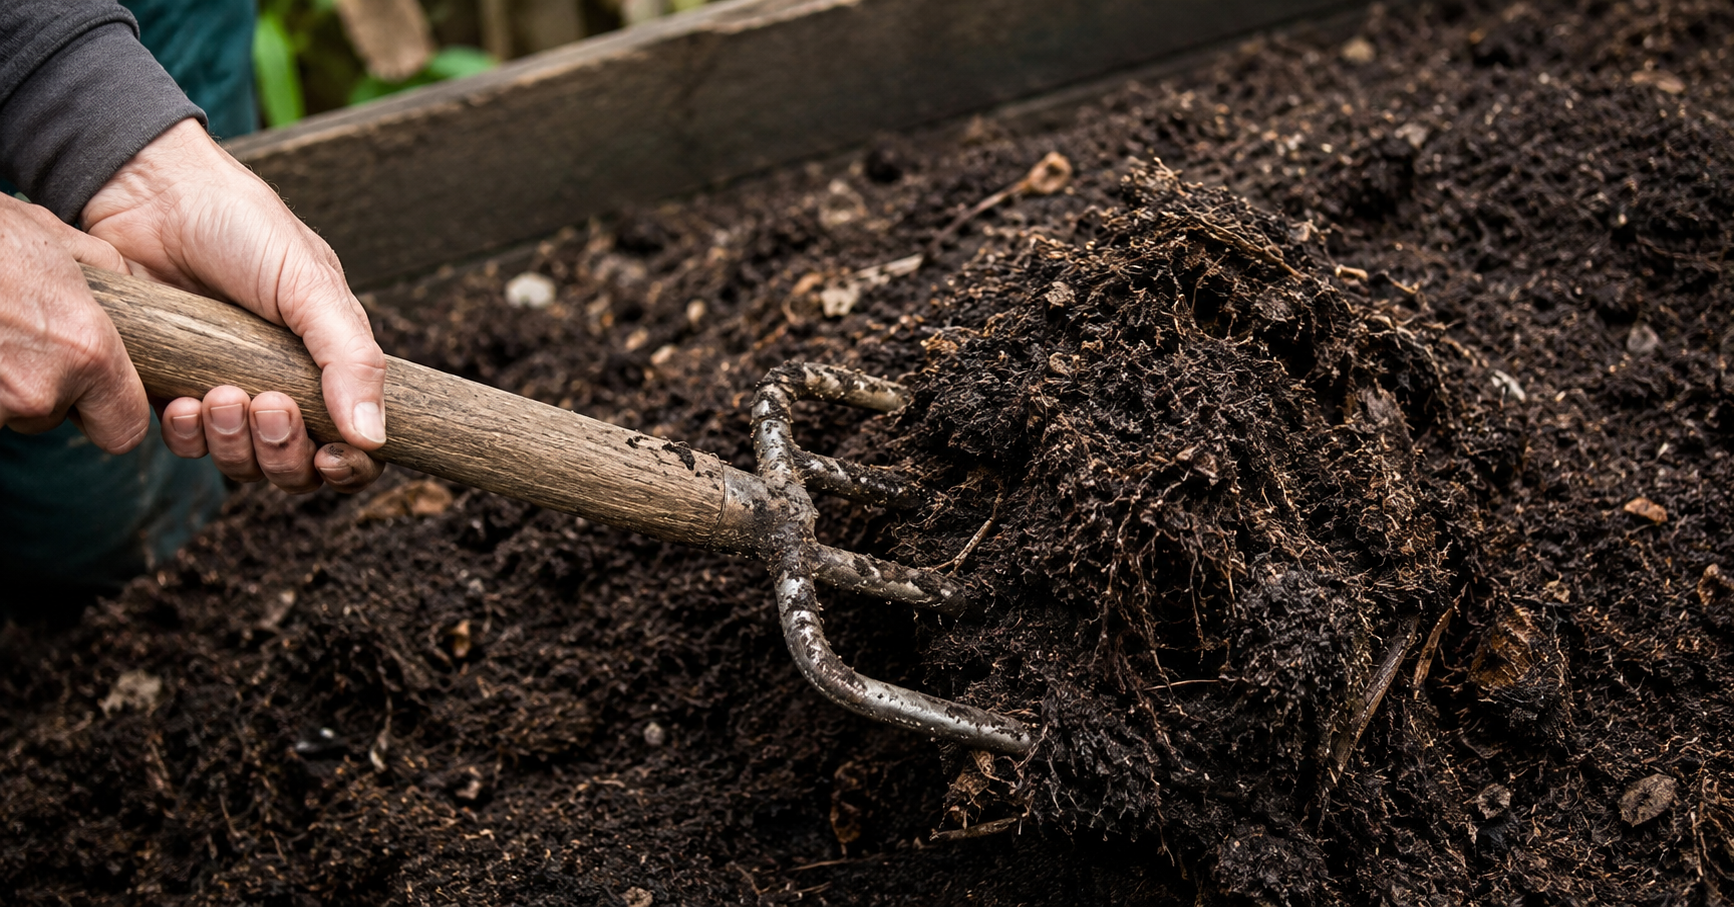
Use a pitchfork or compost aerator to turn the pile, moving outer cool material toward the hot center. Use a compost thermometer to monitor core temperature. The pile should heat up significantly after turning. If it cools and does not reheat, check moisture and carbon-to-nitrogen balance.
-
Monitor and Adjust Each Week
Ammonia smell: add browns. No heat: add greens and moisture. Slimy, wet texture: add coarse browns and turn to aerate. White fungal threads: normal and beneficial — no action needed. Pest activity: bury fresh inputs deep in the center and consider switching to a sealed tumbler.
-
Harvest Finished Compost
Finished compost is uniformly dark brown to black, crumbly in texture, and smells like rich forest earth. No original materials should remain identifiable. Sieve out any woody chunks and return them to a new pile. Store finished compost in a covered container until use.
Part IV Benefits of Composting for Vegetable Gardens
Research from university extension programs and soil science institutions consistently documents the following benefits of compost in vegetable gardens. The degree of improvement will vary depending on your existing soil type, climate, and application practices.
Enriches Soil Nutrition
Boosts Microbial Life
Retains Moisture
Improves Soil Structure
Suppresses Some Plant Diseases
Reduces Fertilizer Costs
Reduces Household Waste
Supports Carbon Sequestration
Soil nutrition: Finished compost delivers a slow-release supply of nitrogen, phosphorus, potassium, calcium, magnesium, and trace micronutrients. Because nutrients are released gradually as microbes continue working, they are less prone to leaching than synthetic alternatives.
Microbial biodiversity: Mature compost introduces large populations of bacteria, fungi, protozoa, and nematodes into garden soil. This biological activity drives nutrient cycling, builds soil aggregates, and can help suppress certain soil-borne pathogens, according to research published through university extension programs.
Water retention and drainage: Organic matter in compost helps clay soils drain more freely and helps sandy soils retain moisture for longer. Both effects reduce the need for supplemental irrigation, particularly during dry growing periods.
Reduced cost: Bagged compost and soil amendments represent a recurring garden expense. Home composting converts kitchen and garden waste — materials that would otherwise be discarded — into a high-quality amendment at no ongoing cost beyond a modest initial setup.
Bagged compost and premium soil conditioners carry a retail cost that varies by region and supplier. Home composting eliminates this recurring expense entirely, using organic waste that would otherwise leave the property. The setup cost for a basic compost bin ranges from nothing for a DIY design to a modest one-time outlay for a commercial unit.
Part V Uses of Compost in the Vegetable Garden
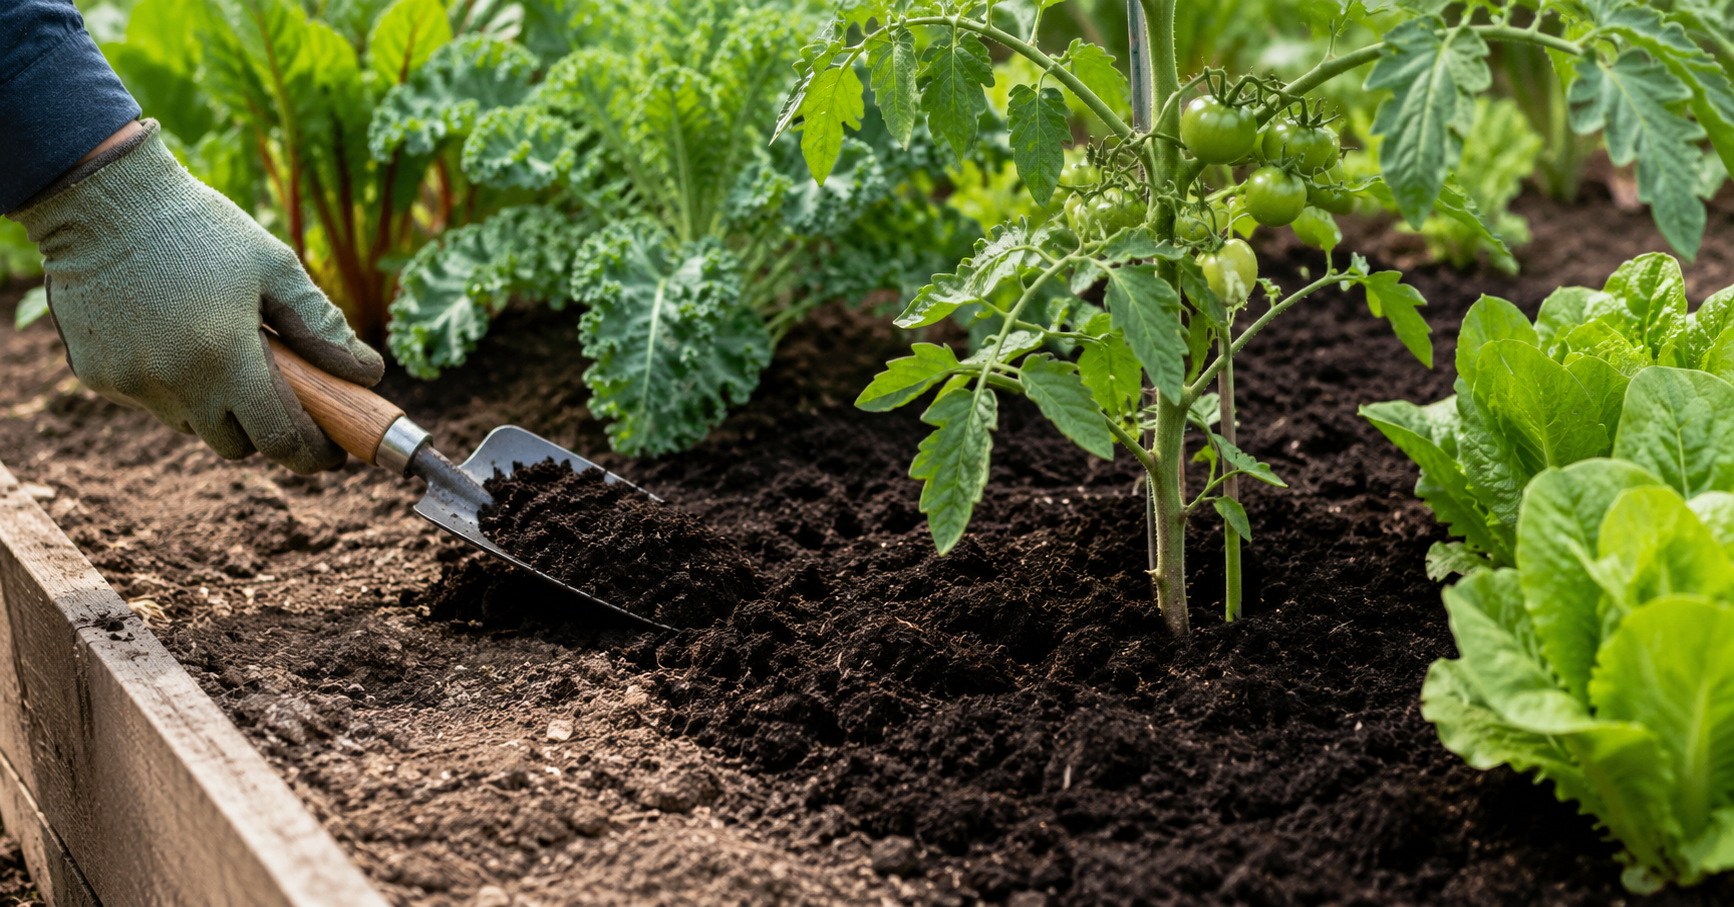
Finished compost is versatile and can be applied in several different ways depending on the stage of your growing season and the needs of your plants.
| Application | How to Apply | Amount | Best Time |
|---|---|---|---|
| Bed Preparation | Dig into top 6 to 8 inches before planting | 3 to 4 inch layer | Early spring or autumn |
| Planting Hole | Add a handful per transplant hole | 1 to 2 cups per hole | At transplanting |
| Side-Dressing | Apply ring around plant base; water in | 1-inch layer | Mid-season |
| Surface Mulch | Spread around base of plants | 2 to 3 inches | After planting |
| Compost Tea | Use only well-finished compost; apply to soil only, not to edible plant parts | Diluted mixture | Optional; use with caution |
| Seed Starting Mix | Blend into potting mix | 20 to 25 percent of total | Before indoor sowing |
| Raised Bed Fill | Mix with topsoil and a drainage material | 30 to 40 percent of volume | When building beds |
Important: Do not plant vegetables in 100 percent compost. Compost works best when mixed with garden soil or potting mix. Too much compost can create drainage problems or nutrient imbalance.
Part VI Troubleshooting Common Problems
Composting is a forgiving process, but problems do arise, particularly when the balance of materials, moisture, or airflow is off. The following table covers the most common issues and their practical solutions.
| Problem | Likely Cause | Solution |
|---|---|---|
| Rotten-egg or sulfur smell | Anaerobic conditions: too wet, insufficient oxygen | Turn thoroughly; add coarse dry browns; improve drainage |
| Ammonia smell | Excess nitrogen from too many greens | Add carbon-rich browns; turn to aerate |
| Pile not heating up | Pile too small, too dry, or insufficient nitrogen | Add fresh greens and water; confirm the pile is about 3 x 3 x 3 feet |
| Pest or rodent activity | Meat, dairy, or cooked food present | Remove offending material; switch to a sealed tumbler bin |
| Materials not breaking down | Pieces too large; pile too dry | Shred material to under 2 inches; add moisture; turn more frequently |
| White or grey fungal threads | Beneficial actinomycetes fungi at work | No action required — this indicates healthy decomposition |
| Weed seedlings in finished compost | Core temperature did not reach recommended level | Ensure pile is large enough; turn frequently to bring outer material to the hot center |
Conclusion Composting Is the Foundation
Compost addresses the root cause of most vegetable garden problems: poor soil. Whether you are gardening in heavy clay, loose sand, or tired ground that has been cropped for years, compost improves structure, feeds the biology beneath the surface, and supports strong, consistent vegetable growth season after season.
“Every kitchen peel, every fallen leaf, every spent crop top is a return to the soil. Composting is how gardeners invest in the land they tend.”— Virginia Times Garden Section
Start with one bin, one corner of the garden, and one season of consistent effort. The result — dark, crumbly, living compost — is one of the most useful low-cost soil amendments any vegetable gardener can produce at home.
Source References
-
1.
U.S. Environmental Protection Agency — Composting at Home.
-
2.
United States Department of Agriculture — Composting.
-
3.
Virginia Cooperative Extension — Making Compost from Yard Waste.
-
4.
Cornell Cooperative Extension — Home Composting.
-
5.
Penn State Extension — Home Composting: A Guide for Home Gardeners.